
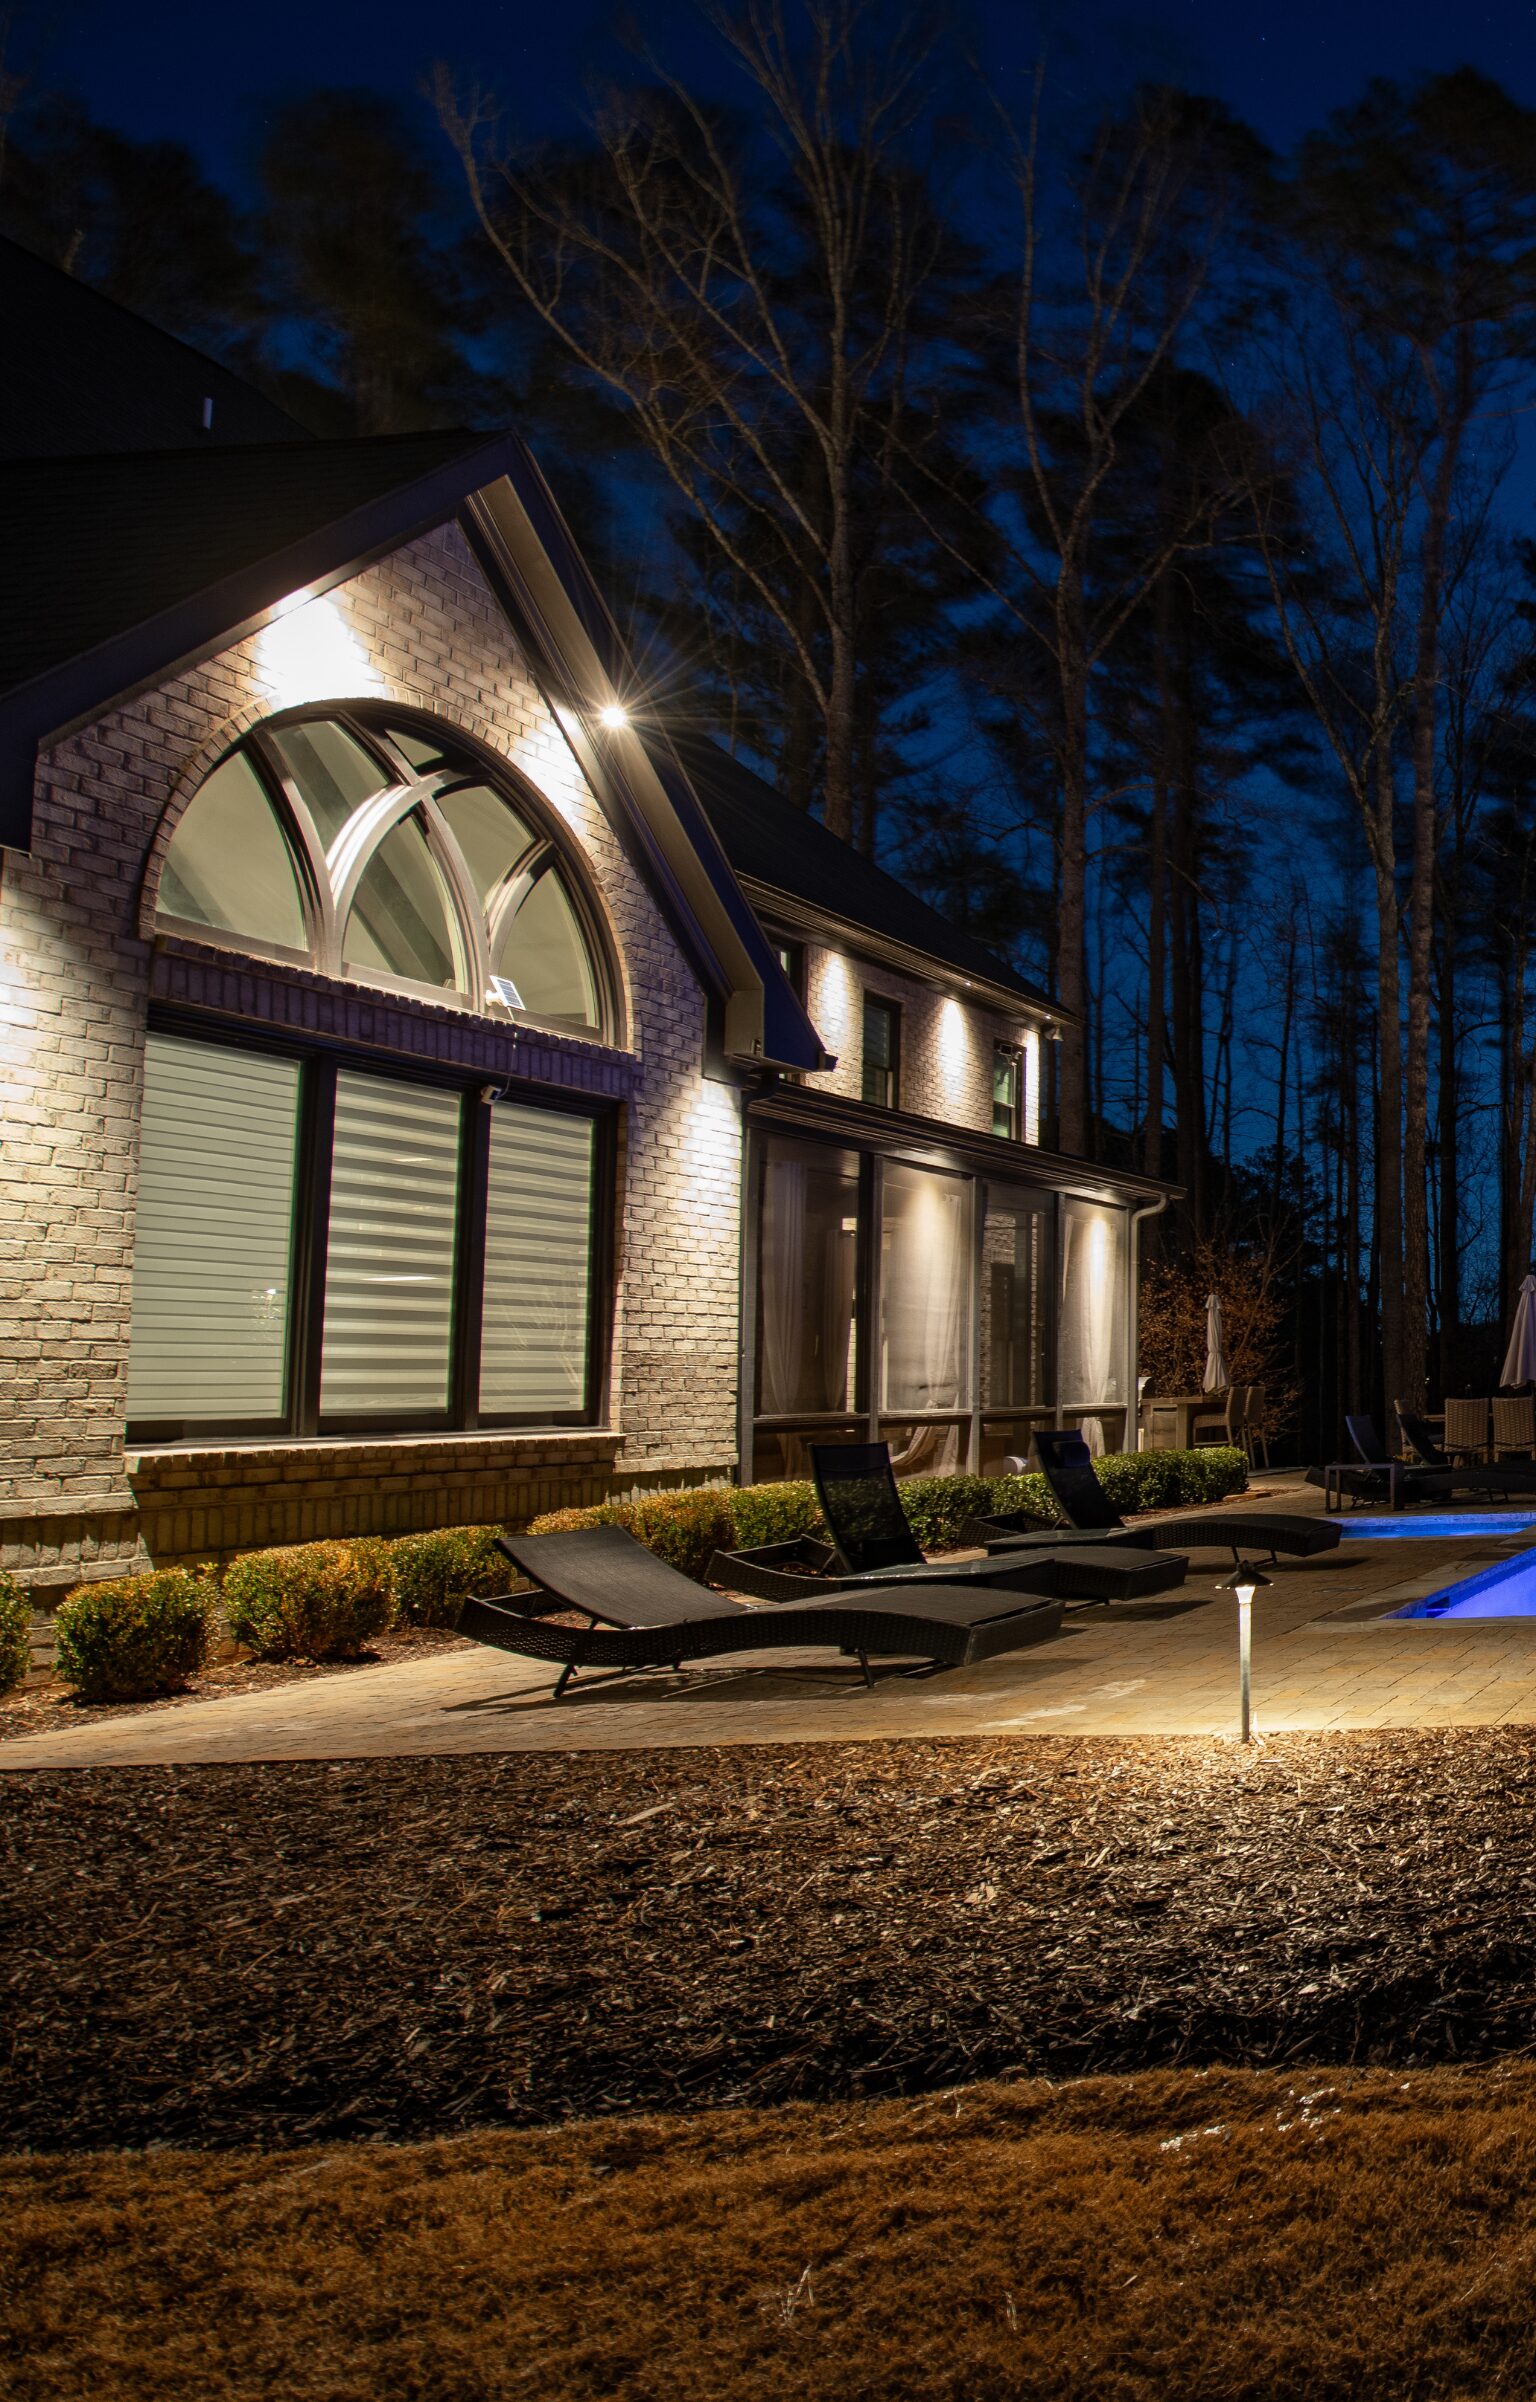
Outdoor lighting installation in Atlanta begins well before fixtures are placed around a home or commercial property.
A successful system requires a clear design, suitable fixtures, adequate transformer capacity, carefully planned cable routes, and connections made for outdoor conditions.
Testing and nighttime adjustments are also necessary to make sure the finished lighting is balanced, functional, and comfortable to view.
Understanding the process can help you compare proposals, prepare your property, and know what to expect. Although projects vary, most professional installations follow a similar sequence.
Step 1: Initial Consultation and Property Evaluation
The process starts with a conversation about what you want the lighting to accomplish.
You may want better visibility along a driveway, walkway, or steps; more comfortable lighting around a patio or pool; or illumination that draws attention to trees and architectural details.
The installer should walk through the property to examine entrances, elevation changes, dark areas, outdoor living spaces, landscaping, and existing electrical components.
Future decks, gardens, or hardscapes may also affect fixture placement and system capacity.
Residential projects often emphasize curb appeal, paths, and outdoor living.
Commercial projects may prioritize entrances, pedestrian routes, signs, and consistent illumination. Discussing priorities and budget early helps shape an appropriate plan.
Step 2: Developing the Outdoor Lighting Design
After evaluating the property, the company converts the goals into an outdoor lighting design.
This involves selecting focal points, deciding which areas need functional illumination, and choosing techniques that work together.
Uplighting can emphasize trees or architectural features, while downlighting can provide softer illumination from above.
Path, deck, and step lights can improve visibility around changes in direction or elevation. Grazing can reveal surface texture, whereas washing distributes light across a broader area.
The property should work as a whole. Too many bright fixtures can flatten the scene and create glare.
Varying beam spreads, intensities, and positions creates depth while keeping important routes visible. The designer should also prevent unnecessary light from reaching windows, neighboring properties, or roads.
Step 3: Selecting Fixtures, LEDs, and Controls
Fixtures should be chosen for their specific locations and purposes. A path light, hardscape light, uplight, and submersible fixture face different exposure and mounting requirements.
The installer should explain the proposed fixture materials, finish durability, beam spread, LED output, and whether lamps are replaceable or integrated.
Color temperature also influences the result. Warmer light often creates an inviting residential appearance, while some settings need a cooler-looking output. The choices should remain visually consistent.
Atlanta’s heat, humidity, rain, irrigation, clay soil, and debris can affect exterior components.
Products need ratings appropriate to their locations, including wet-location or submersible ratings when applicable. Timers, photocells, or smart controls can manage operating schedules.
Step 4: Calculating Power and Planning Cable Routes
Before installation, the company determines how the system will be powered.
For low-voltage outdoor lighting, this includes calculating the combined fixture load, selecting adequate transformer capacity, and accounting for cable length and voltage drop.
Leaving reasonable capacity may make future expansion easier. Cable routes are planned around driveways, roots, fences, walls, utilities, irrigation, and other obstacles.
Connection points must remain practical for future service. The shortest route may not be suitable if digging, drainage, traffic, or landscaping could create problems.
Power requirements and cable layout influence system reliability. Regulated electrical work should be performed by someone appropriately qualified.
Step 5: Preparing the Property for Installation
Once the plan is approved, the installation team confirms fixture locations and access. Utilities and irrigation components may need to be identified before digging begins.
The crew also plans how to work around roots, hardscaping, walls, decks, and dense planting while limiting unnecessary disturbance.
Owners may need to move furniture, vehicles, or decorations. For commercial sites, installers may coordinate access with a manager to limit disruption.
The team should protect lawns and beds where possible. Marking fixtures before installation lets the owner confirm the planned areas.
Step 6: Installing Fixtures, Cables, and the Transformer
The crew then installs the fixtures in their approved positions, creates the planned cable routes, and secures weather-resistant connections.
Fixtures may be placed in soil or mounted on trees, walls, decks, steps, or hardscape, depending on the design and the mounting method suitable for each surface.
The transformer goes in an appropriate, accessible location. Fixtures should remain stable and aligned, while cables and connections need protection from landscape activity and exposure.
Methods vary with voltage, fixture type, surface, soil, and layout.
Mature landscaping, masonry, drainage, and structures may require adjustments that preserve the design while limiting disruption.
Step 7: Testing the Outdoor Lighting System
Installation is not complete when the last fixture is placed. The company should confirm that every light operates and check the system as a whole.
This may include reviewing voltage at appropriate points, transformer load, connections, and fixture output.
Timers, photocells, and smart controls should follow the intended schedule.
The installer checks common problems, such as flickering, inconsistent output, loose connections, or unresponsive components before the walkthrough.
Step 8: Making Nighttime Adjustments
A fixture that looks properly positioned during the day may produce glare, an unwanted shadow, or an uneven beam after dark.
That is why nighttime adjustment is one of the most important parts of professional outdoor lighting installation.
The installer may change fixture angles, balance nearby features, improve path coverage, or redirect light away from windows.
Focal points should not compete, and functional areas should be visible without appearing overlit.
Step 9: Final Walkthrough and Customer Instructions
During the final walkthrough, the installer should review the finished design and explain how to operate the system.
Customers should learn how to use timers or smart controls, change schedules, and request adjustments if their needs change.
The installer should also review care, maintenance, warranties, and whom to contact if a fixture fails or needs realignment.
How Long Does Outdoor Lighting Installation Take?
Duration depends on property size, fixture quantity, cable distances, electrical requirements, and mounting on walls, decks, steps, or hardscape.
Existing systems, access, weather, clay soil, dense landscaping, and obstacles also affect timing. After evaluating the site, the installer should provide an expected schedule and explain what may change it.
Common Problems Professional Installation Helps Prevent
Professional planning and testing can reduce issues that affect appearance, operation, or serviceability.
Common problems include poorly positioned fixtures, excessive glare, uneven brightness, unsuitable exterior products, and light shining into windows.
Technical problems include undersized transformers, voltage drop, vulnerable cable routes, unprotected connections, water entry, and incorrectly configured controls.
Appropriate products, installation, and testing can reduce avoidable failures.
What Happens After Installation?
Outdoor lighting changes with the property around it. Plants grow into beams, soil shifts, landscaping crews move fixtures, lenses collect debris, and operating schedules change with the seasons.
Maintenance may include cleaning lenses, realigning fixtures, checking cables and connections, updating controls, and replacing failed components.
Property changes may also require expansion or redesign. Ask whether the installer provides maintenance and repairs, including service for other companies’ systems.
Plan Your Outdoor Lighting Installation in Atlanta
Every stage of an outdoor lighting project affects the final result.
The consultation establishes the goals, the design determines how the property will be illuminated, and product selection and power planning support long-term operation.
Careful installation, testing, and nighttime adjustments bring those decisions together.
NightVision Outdoor Lighting evaluates residential and commercial properties, develops lighting plans, installs suitable fixtures and components, and adjusts completed systems based on how each property looks after dark.
If you are considering outdoor lighting installation in Atlanta, schedule a consultation to discuss the areas you want to illuminate, the appearance you prefer, and what the installation process will involve.
Frequently Asked Questions
What Is Included in Professional Outdoor Lighting Installation?
It generally includes evaluation, design, fixture selection, power and cable planning, installation, testing, nighttime adjustments, and a walkthrough. The proposal should state the exact scope, warranties, and maintenance options.
How Long Does Outdoor Lighting Installation Take?
Timing depends on property size, fixture quantity, cable routes, mounting, electrical needs, access, landscaping, and weather. The installer should evaluate the property before estimating a schedule.
Can Outdoor Lighting Be Installed Without Damaging Landscaping?
Planning cable routes, marking utilities and irrigation, and working around roots can limit disruption. Ground-based systems generally require some digging. Ask what landscape protection and restoration the proposal includes.
Does Outdoor Lighting Installation Require Electrical Work?
Permanent systems require a power source and planned connections. Requirements depend on system voltage and existing infrastructure. Work requiring licensing or permits should be handled by appropriately qualified professionals.
Can an Outdoor Lighting System Be Expanded Later?
Many systems can expand if the transformer, cables, and controls have capacity. Tell the designer about future patios, pools, gardens, or buildings so expansion can be considered initially.